
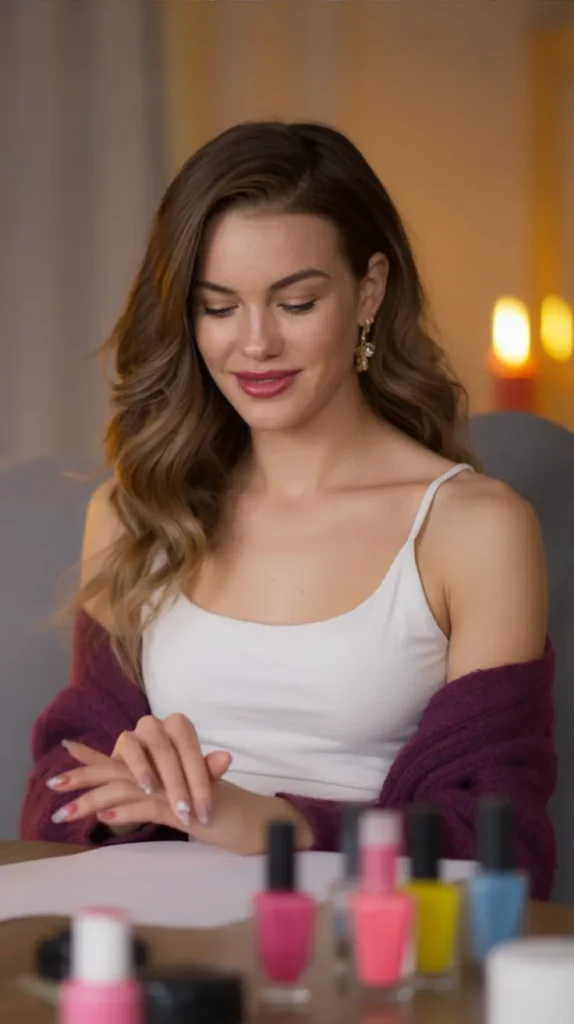
Looking for a fun way to express your creativity without breaking the bank? Doing your own nail art at home is the perfect solution! You don’t need to be a professional to achieve beautiful, eye-catching nails. With a little patience, some basic tools, and a sprinkle of creativity, you can turn your nails into miniature works of art. Ready to get started? Let’s dive into the steps for creating easy nail art at home that’s sure to impress.
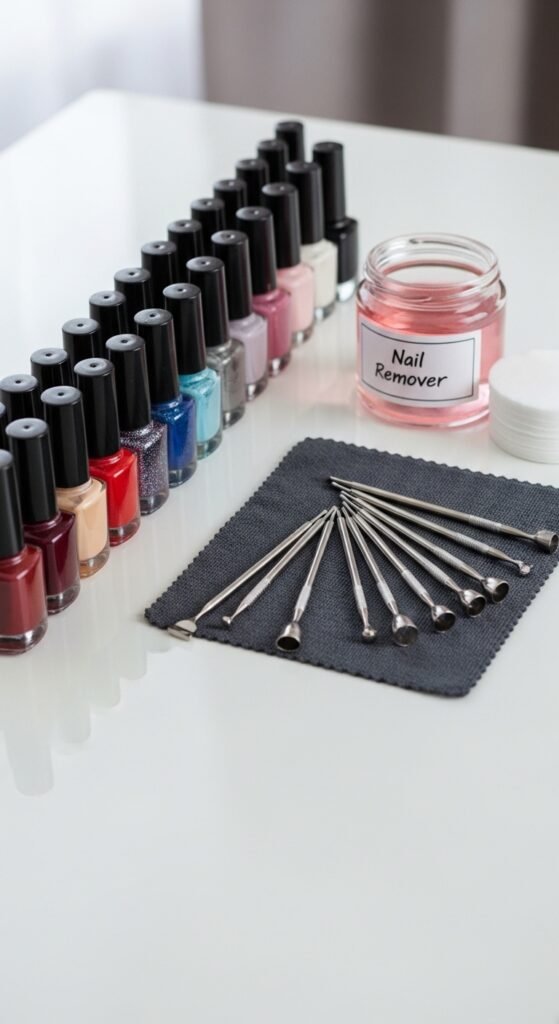
1. Gather Your Supplies
Before you start your nail art journey, you’ll need to gather a few essential supplies. Here’s what you’ll need to get started:
- Nail polish (at least two colors) – Pick out your base and design colors. A neutral color for the base and a bolder shade for the design works great.
- Nail art tools – Dotting tools, brushes, and striper pens will help you achieve different effects. You can also use a toothpick if you don’t have nail art tools.
- Top coat – To seal in your design and ensure it lasts longer.
- Nail file – To shape your nails before starting.
- Nail polish remover – For any clean-up after you’re done.
2. Prep Your Nails
The first step in any good manicure is prep! Clean and shape your nails before you start painting. Here’s how:
- File your nails – Shape your nails into your preferred style: square, oval, or almond.
- Buff your nails – Smooth out any ridges to get a nice, even surface.
- Push back your cuticles – Use a cuticle stick to gently push your cuticles back.
- Clean your nails – Remove any leftover polish or oils using a cotton pad and some nail polish remover.
Now that your nails are prepped and ready, let’s move on to the fun part – applying the base coat and design!
3. Apply a Base Coat
Start with a layer of base coat to protect your nails from staining and help your polish last longer. Apply a thin, even layer and allow it to dry completely before moving on to the next step.
4. Create a Simple Nail Art Design
Now comes the fun part – creating your nail art! Here are a few easy nail art ideas to try:
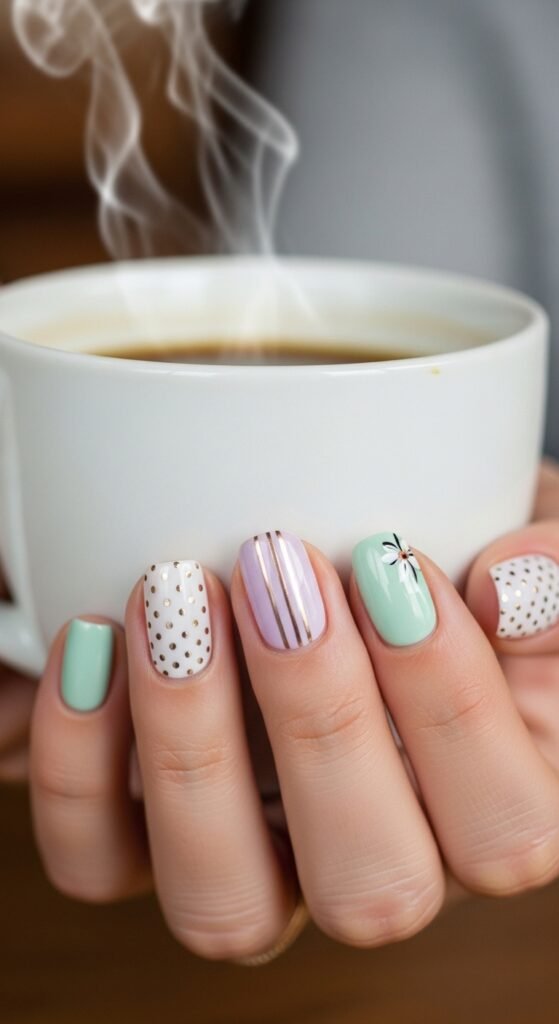
Striped Nails
- Apply a base color (e.g., nude or white) and let it dry.
- Use a nail striper or a fine brush to paint thin, horizontal or vertical lines in contrasting colors (e.g., gold and black or pink and white).
- Keep the lines as neat as possible, and don’t worry if they’re not perfect – that’s what gives it a handmade, trendy vibe.
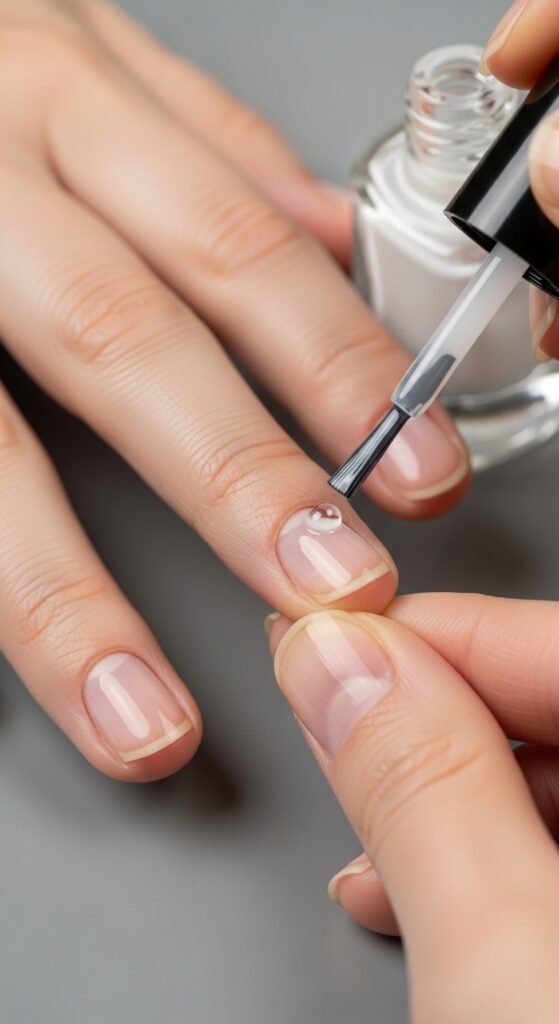
Dotted Nails
- Paint your nails with a solid color of your choice.
- Using a dotting tool (or a toothpick), dip it into a contrasting color and create small dots on the nail.
- You can arrange them in a pattern, like polka dots, or create random designs. Play around with sizes and placement!

Half-Moon Nails
- After applying a base coat, paint the bottom half of your nails in a contrasting color (try gold, black, or deep red).
- Leave the top half bare or apply a lighter color.
- Add a little extra flair by drawing a thin line where the two colors meet using a striper.
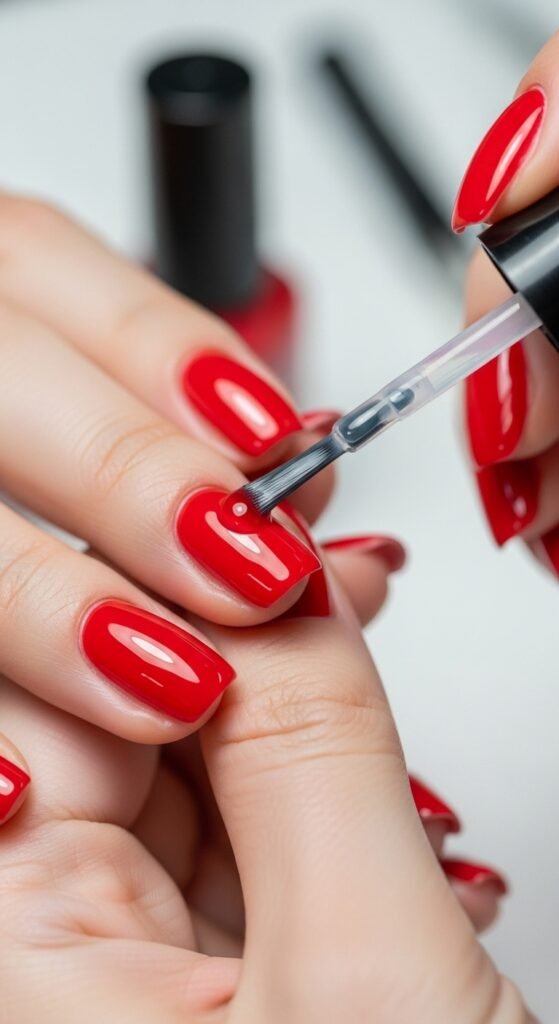
5. Seal It All with a Top Coat
Once your nail art design is dry, it’s time to seal it in with a glossy top coat. This will not only protect your nail art but also add a beautiful shine to your nails. Make sure to apply the top coat evenly and cover the edges of your nails to prevent chipping.
6. Clean Up
Don’t worry if you made a little mess around your cuticles or edges. Simply dip a small brush or cotton swab into some nail polish remover and carefully clean up the edges. This will make your nails look more polished and professional.
7. Let Your Nails Dry
Patience is key! Let your nails dry completely before touching anything. This ensures that your design stays intact and you don’t smudge all your hard work. It usually takes about 10-15 minutes for the polish to dry fully.
8. Show Off Your Creation
Once your nails are dry, it’s time to flaunt your work! Take pictures, show off your design to friends, or simply enjoy your fabulous nails.
Pro Tip: Nail Art on the Go
If you don’t have a lot of time, you can try using nail stickers or decals for a quick and easy design. Simply apply the sticker to your nail, press down, and seal it with a top coat.
Nail art is a fun way to express your creativity, and the best part is that you can do it all from the comfort of your own home. With a little practice, you’ll be able to create a variety of designs to suit your style, from simple stripes to more intricate designs. Don’t forget to save this guide for when you need some nail inspiration! Happy painting!

Leave a Reply