
Nail art doesn’t have to mean expensive salon visits or complicated tools. With a little practice—and the right mindset—you can create cute, stylish designs right at home, even if you’ve never tried nail art before. The secret? Start simple, have fun, and don’t aim for perfection.

Whether you want subtle accents or playful designs, this beginner-friendly guide will walk you through everything step by step.
Start With the Right Nail Prep
Great nail art starts before the polish ever touches your nails. Skipping prep is one of the biggest beginner mistakes.
Here’s what to do first:
- Remove old polish completely.
- Trim and gently file your nails into a shape you like.
- Push back cuticles carefully (never rush this).
- Lightly buff the nail surface so polish sticks better.
- Wash hands and dry thoroughly.
Finish with a thin layer of base coat. This helps prevent staining and makes your design last longer.
Beginner tip: Shorter nails are easier to work with when you’re just starting out.
Choose Beginner-Friendly Tools (You Don’t Need Much)
You don’t need a huge nail kit to get started. In fact, many designs can be done with things you already have at home.
Basic tools that help:
- Nail polish in 2–3 colors
- A toothpick or bobby pin (for dots)
- Makeup sponge (for gradients)
- Thin brush or old eyeliner brush
- Clear top coat
Start with lighter colors—they’re more forgiving and easier to fix if you make a mistake.
Try Easy Nail Art Designs for Your First Attempts
When you’re a beginner, simple designs look cleaner and feel less frustrating. These ideas are easy but still look polished.
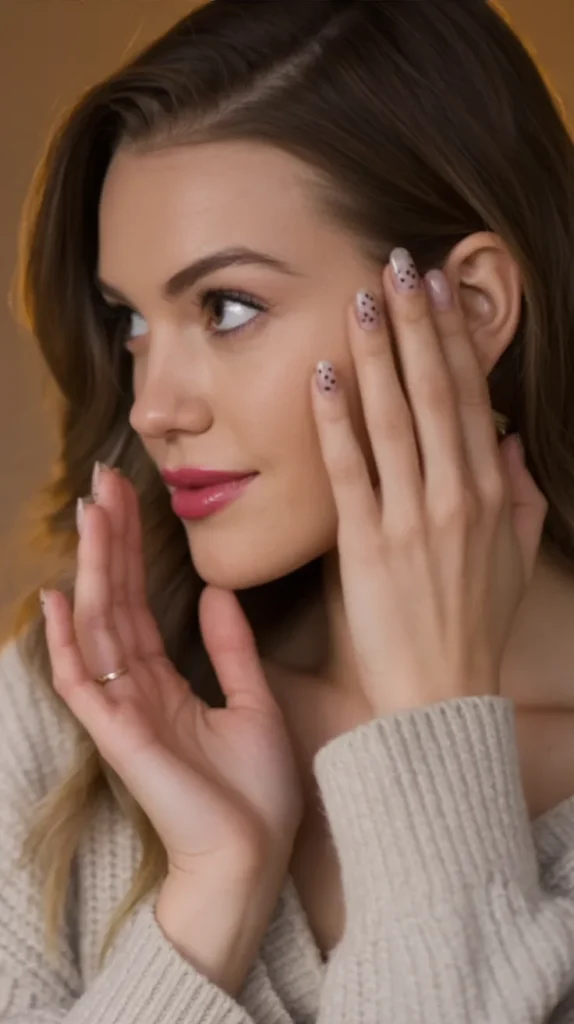
Dot Nails
- Paint a solid base color.
- Dip a toothpick into polish.
- Gently place dots on the nail.
Dots can be neat, random, or lined up—there’s no wrong way.
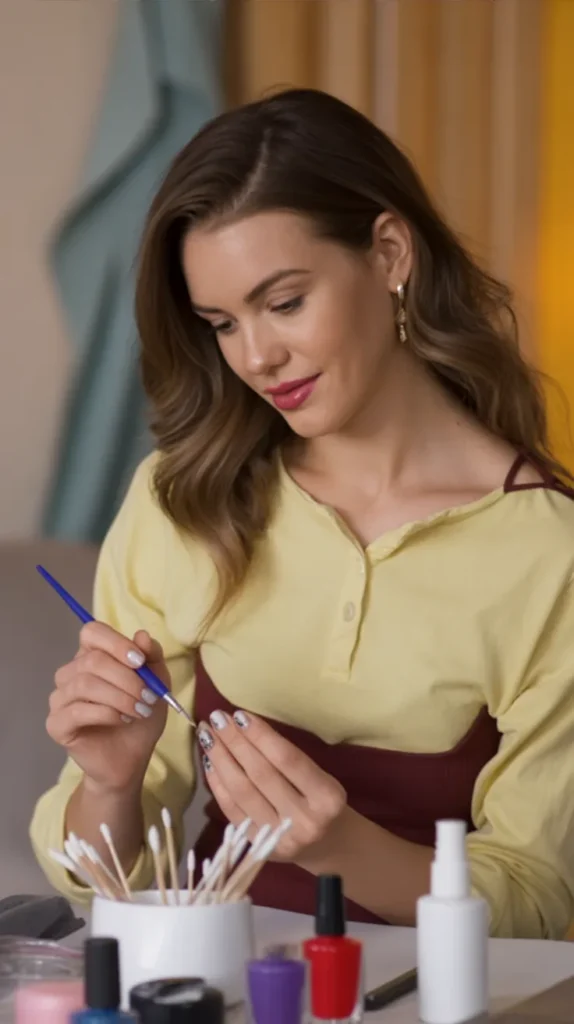
Stripe Accents
- Paint your nails one color.
- Add thin stripes using a brush or toothpick.
- Keep lines imperfect for a relaxed look.
Accent Nail
- Paint most nails one shade.
- Decorate just one nail per hand with a simple design.
Beginner tip: If a design feels messy, let it dry and cover it with top coat. It smooths out more than you think.
Use Color Combos That Always Work
Color choice can make or break your nail art—especially for beginners.
Safe combinations:
- Nude + white
- Pastel + gold accent
- Soft pink + gray
- Beige + black dots
Stick to two or three colors max. Too many shades can feel overwhelming when you’re still learning.
If you’re unsure, paint one nail first and see how it looks before doing the rest.
How to Fix Mistakes Without Starting Over
Mistakes happen. That’s part of learning nail art.
Quick fixes:
- Dip a small brush in nail polish remover and clean edges.
- Turn smudges into dots or abstract shapes.
- Add glitter or a second layer to disguise flaws.
- Use top coat generously to smooth uneven areas.
Remember: most people won’t notice tiny imperfections—especially once the polish dries.
Seal Your Design for Longer Wear
Top coat is not optional. It protects your design and gives that finished, glossy look.
How to apply it:
- Wait until nail art feels dry to the touch.
- Use light strokes so you don’t drag the design.
- Seal the edges of the nail to reduce chipping.
If you want extra shine, apply a second thin layer the next day.
Practice Without Pressure
The fastest way to improve is practice—but keep it fun.
Easy ways to practice:
- Try designs on one nail at a time.
- Practice on press-on nails or plastic tips.
- Recreate simple designs you see online.
- Keep photos of designs you liked (and ones you didn’t).
Your first few tries won’t be perfect—and that’s normal. Every attempt builds confidence.
Final Thoughts: Keep It Fun and Personal
Nail art at home isn’t about perfection. It’s about creativity, relaxation, and expressing your style in small, playful ways. Start simple. Try new things slowly. And don’t be afraid to mess up—that’s how you learn.
Save this guide for later and try your first at-home nail art design this week!

Leave a Reply