
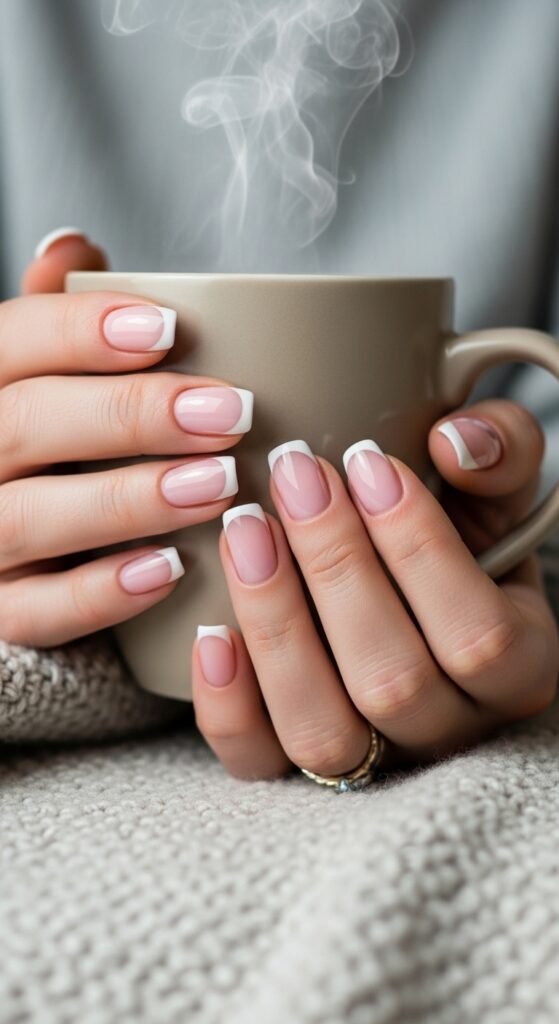
Nothing says “put-together” like a clean French manicure—soft, glossy, and instantly chic. The best part? You don’t need a salon appointment (or superhuman steady hands) to pull it off. With the right prep and a couple of simple tricks, you can get crisp white tips and a smooth, natural base right at your kitchen table.

What You’ll Need (and What You Can Skip)
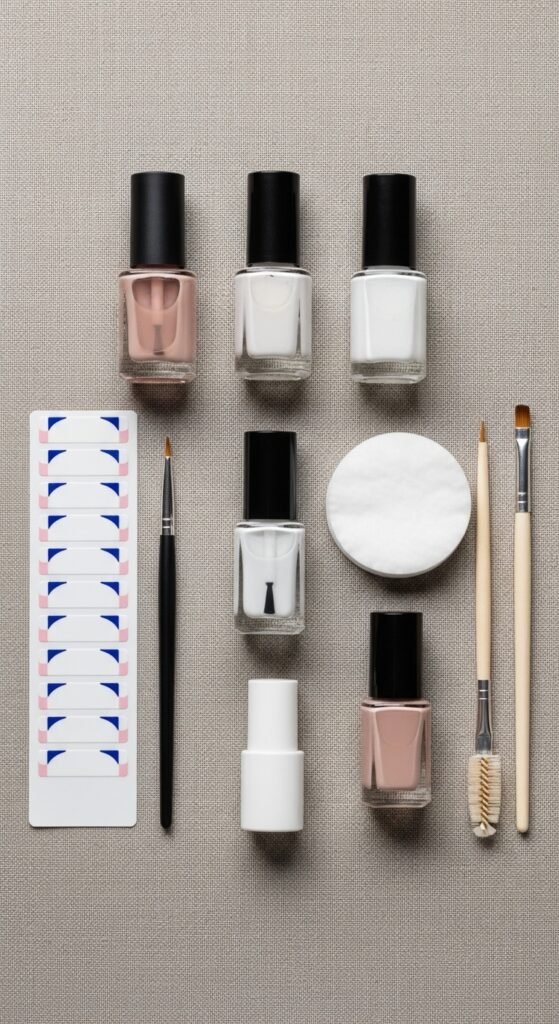
Before you start painting, gather your essentials. Having everything within reach keeps you from smudging a fresh nail while digging through drawers.
Must-haves
- Nail file + buffer (or a 2-in-1 file)
- Cuticle pusher (wooden stick works great)
- Base coat
- Sheer nude, blush, or milky pink polish
- White polish (classic French tip)
- Top coat (glossy is the vibe)
- Cotton pads + nail polish remover
- Small clean-up brush (or an angled makeup brush)
Nice-to-haves (helpful for beginners)
- French tip guides/stickers or tape
- A thin nail art brush (for painting tips)
- Fast-dry drops/spray (if you’re impatient… relatable)
Step 1: Prep Like a Pro (This Is the Secret Sauce)
French tips look best on a smooth, clean canvas. Don’t rush this part—it’s what makes your manicure look “salon” instead of “I tried.”
- Remove old polish completely.
- Shape your nails with a file.
- Square with slightly rounded corners = classic French
- Oval/almond = softer, modern look
- Soften cuticles: soak fingertips in warm water for 2–3 minutes.
- Gently push back cuticles (don’t cut unless you really know what you’re doing).
- Lightly buff the nail surface for smoothness (just a few passes).
- Wipe nails with remover to remove oils and dust.
Quick tip: If your nails are peeling or ridged, go with a ridge-filling base coat. It makes everything look instantly smoother.
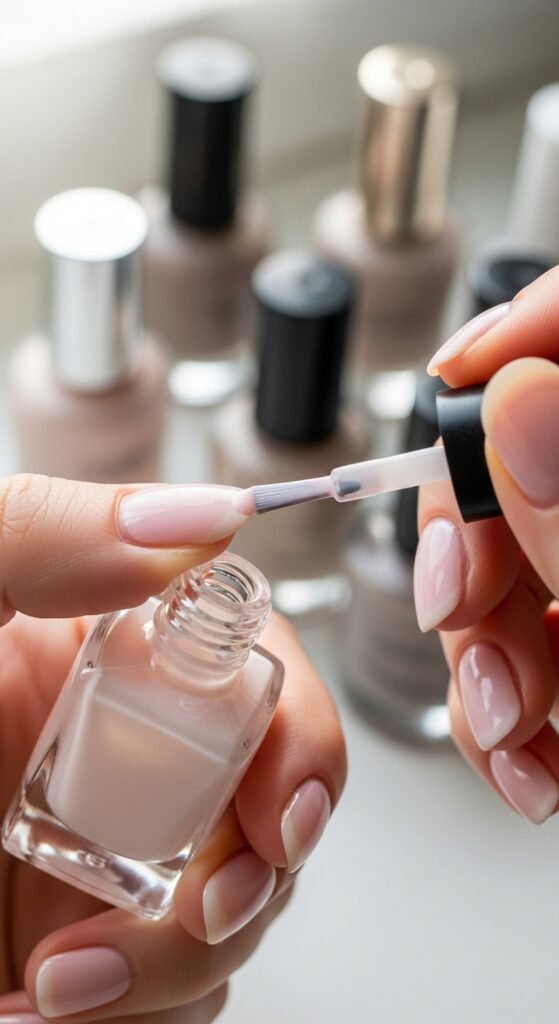
Step 2: Apply Base + Sheer Color (Thin Coats Win)
This is where the “French” part becomes flattering. A sheer base evens out your nail tone and makes the white tips pop without looking harsh.
- Apply one thin layer of base coat.
- Let it dry for a minute or two.
- Apply one thin layer of your sheer nude/pink.
- If you want a more polished look, add a second thin coat.
Pinterest-friendly shade ideas
- Milky pink for a soft, clean look
- Blush nude for warm skin tones
- Cool beige nude for a minimalist vibe
Step 3: Create the White Tips (Pick Your Method)
Okay—this is the part everyone worries about. But you have options! Choose the method that matches your patience level.
Option A: French Tip Stickers (Easiest + Cleanest)
- Make sure your base color is fully dry.
- Place the sticker across the nail, leaving the tip exposed.
- Paint the exposed tip with white polish (thin coat).
- Peel the sticker off while the white is still slightly wet for a crisp line.
- Add a second thin coat if needed.
Option B: The “Guide Line” Brush Trick (No Stickers Needed)
- Wipe most polish off your brush—less is more.
- Start by painting two small side strokes at the corners of the tip.
- Connect them with a gentle sweep across the top.
- Fill in the tip lightly.
Option C: The Makeup Sponge Tap (Soft, Modern French)
This gives a slightly blurred, airy tip—very trendy.
- Dab a bit of white polish on a sponge.
- Lightly tap the tip area until it builds up.
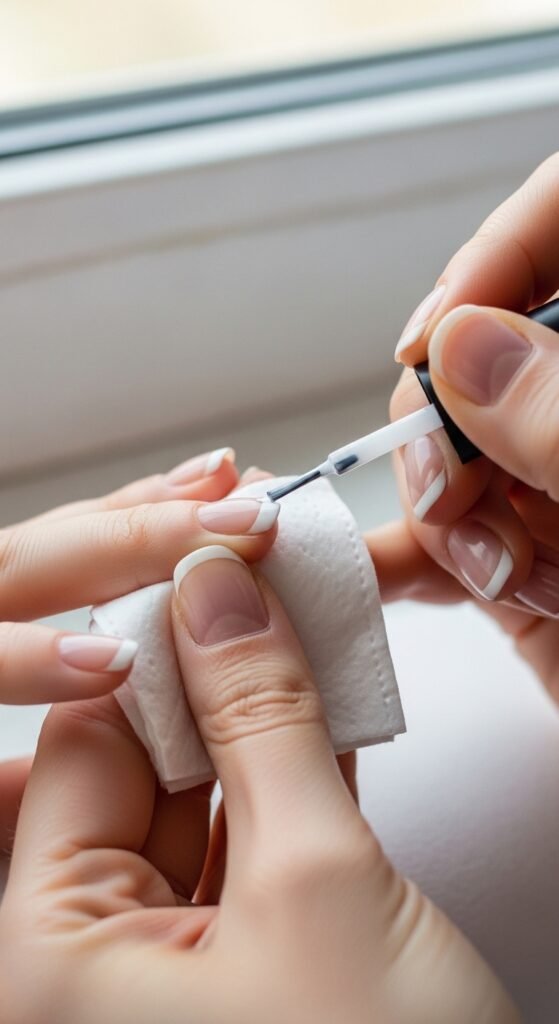
Step 4: Clean Up the Edges (Instant Upgrade)
Even if your line isn’t perfect, cleanup makes everything look intentional.
- Dip a small clean-up brush in remover (not dripping).
- Swipe along the smile line edges or around the cuticle area.
- Use light pressure—think “erase,” not “scrub.”
Tiny hack: If you don’t have a clean-up brush, wrap a cotton pad around a wooden stick for a sharper edge than a cotton swab.
Step 5: Seal It In With Top Coat (Gloss = Luxury)
Once the tips are dry to the touch:
- Apply one generous layer of top coat to each nail.
- “Cap” the edge by brushing across the nail tip—this helps prevent chips.
If you want extra durability, add a second top coat the next day.
Troubleshooting: Common French Mani “Oops” (and Easy Fixes)
My tips look streaky.
- Do two thin coats instead of one thick coat.
- Try a slightly thicker white polish or a nail art white.
The line isn’t even on every nail.
- Aim for consistency, not perfection.
- Make the tips slightly thinner on smaller nails for balance.
I smudged a nail!
- If it’s minor, wait until it dries, then lightly buff the smudge and reapply top coat.
- If it’s major, remove that nail only and redo (you’ve got this).
Chips after one day.
- Make sure nails are oil-free before starting.
- Cap the tips with top coat and avoid super-hot water right after painting.
Make It Yours: Fun French Variations
Once you master the classic, you can play:
- Micro French: super thin white line (minimalist + trendy)
- Colored tips: pastel, black, or bright neon for a bold twist
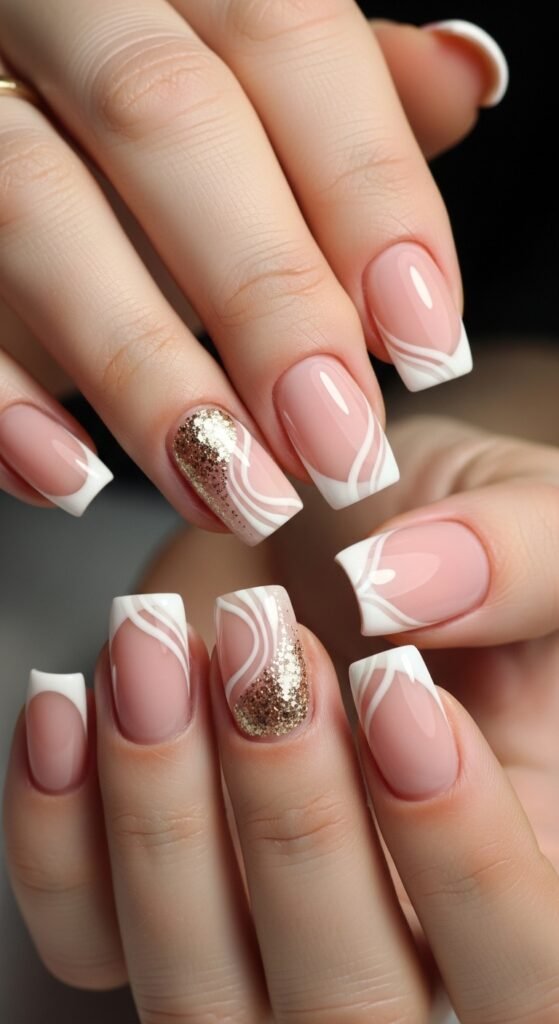
- Glitter tip: shimmer topcoat just on the edge
- Double French: two thin lines stacked for a graphic look
Final Takeaway
French nail art at home is 50% technique and 50% patience—and you get better every single time. Start simple, keep coats thin, and remember: cleanup is your best friend.
Save this tutorial for later, and the next time you want instantly polished nails, you’ll have the steps ready to go!

Leave a Reply